Learn Simple But Inspirational Tips To Save Money And Make Your Life Comfortable!
Your ads will be inserted here by
AdSense Now!.
Please go to the plugin admin page to paste your ad code.
We all have different explanations concerning a perfect night. I think a perfect night is one where you simply have fun.
You can consider gathering with friends during the summer holidays, talk, dance, play beach games while taking cold beers. The essential requirement for these occasions is a cooler to keep your drinks cold.
In many homes, you will find the plastic coolers. They are very cheap to buy and maintain. If you decide to arrange your backyard into a presentable area, then you need to make sure you take your time to come up with the right plan of organizing it. You will be surprised to note that the plastic cooler seems unattractive to anyone looking at the coolers.
Have you heard of Brooke Norsworthy’s blog know as Killer B. Design, here you will find various DIY and home improvement plans. The blog aims at educating its readers on how to apply this knowledge.
I came of this project where she teaches on how to convert an old ice chest into a stunning furniture. Watch some of her pictures below.
Kindly SHARE the clip below on your Facebook!
She had seen beautiful, rustic coolers at stores like Cabela’s, but they all retailed for over $100. She decided to put her old cooler to use rather than spend that money.

Luckily, she didn’t have to spend that much. She was able to spend only $30 on scrap wood, screws, nails, and pipe coupling — plus a spigot, handles, and a bottle opener.
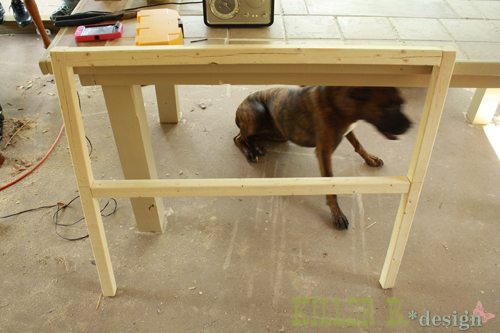
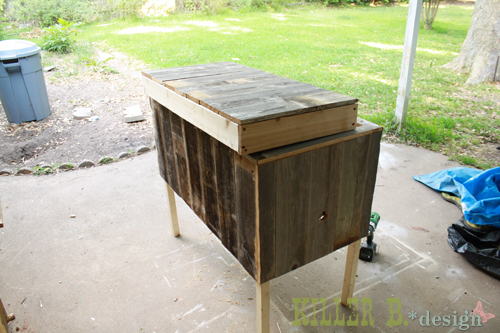
They measured the frame around the cooler, then made the legs 30 inches tall so it was counter height.
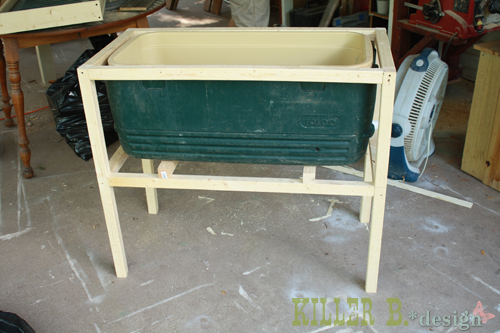
The frame should fit the cooler snugly. Visit Brooke’s blog for more detailed information on their own measurements.
Once the frame was in place, she cut the siding and attached it with nails.
Your ads will be inserted here by
AdSense Now!.
Please go to the plugin admin page to paste your ad code.
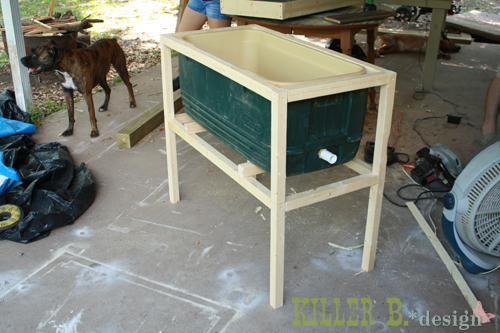
They let the siding overhang the frame to hide the 2x2s.

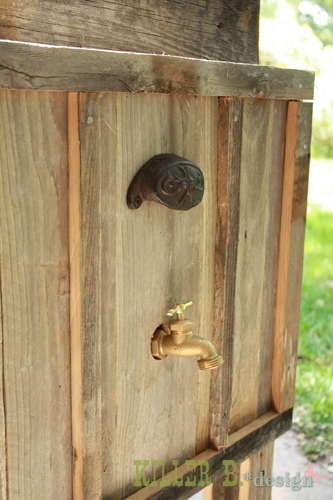
For the side slats, they started with the center board and ensured that there was a hole for the spigot.
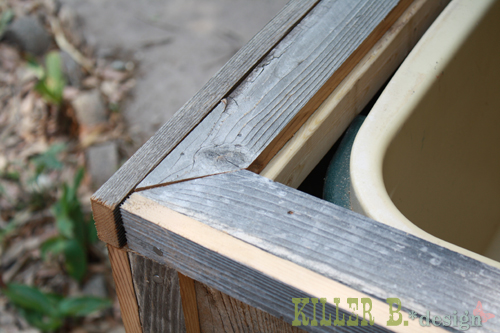
They also added a trim. Attention to detail on projects like this can really make a huge difference.
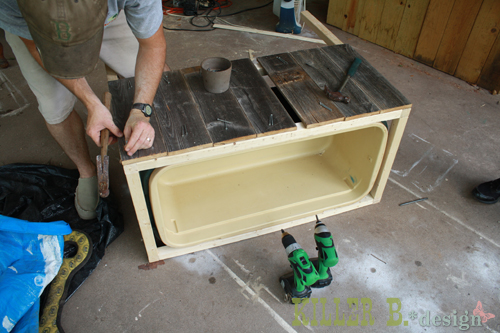
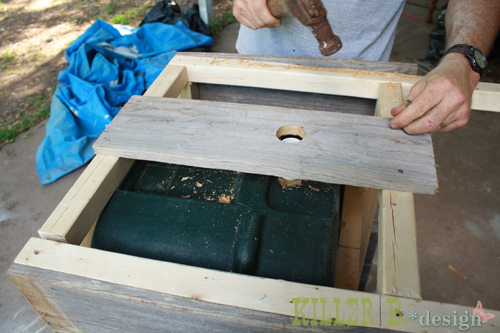
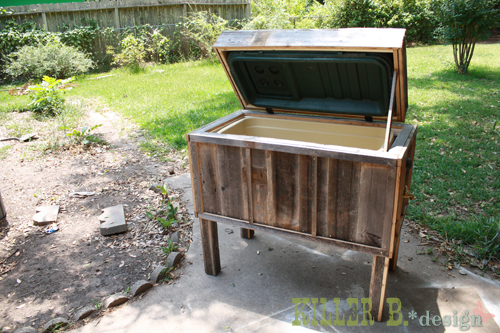
Next, they took the lid of the cooler and built its own frame with trimming. The cooler lid also fits snugly within its frame.
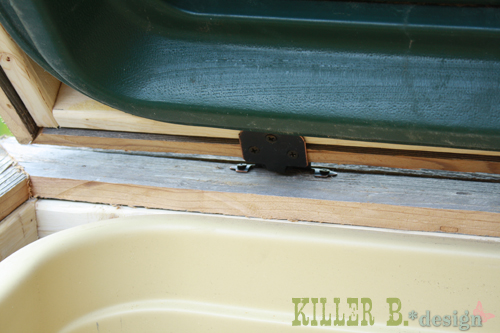
Hinges allow the new wooden lid to lift in the same way as the plastic one.
They also added a bottle opener and attached a spigot for more cute details.
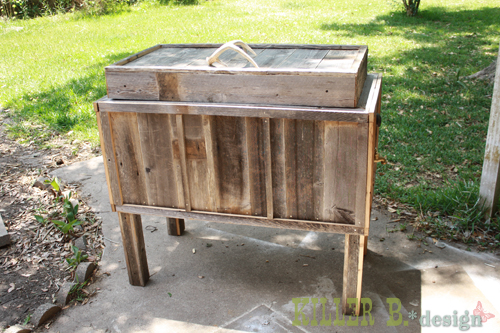
And here’s the finished product!
Only $30 and a couple hours of work created a truly unique, beautiful addition to the backyard that will definitely get guests talking at the next party.
Kindly SHARE the clip below on your Facebook!
Your ads will be inserted here by
AdSense Now!.
Please go to the plugin admin page to paste your ad code.
